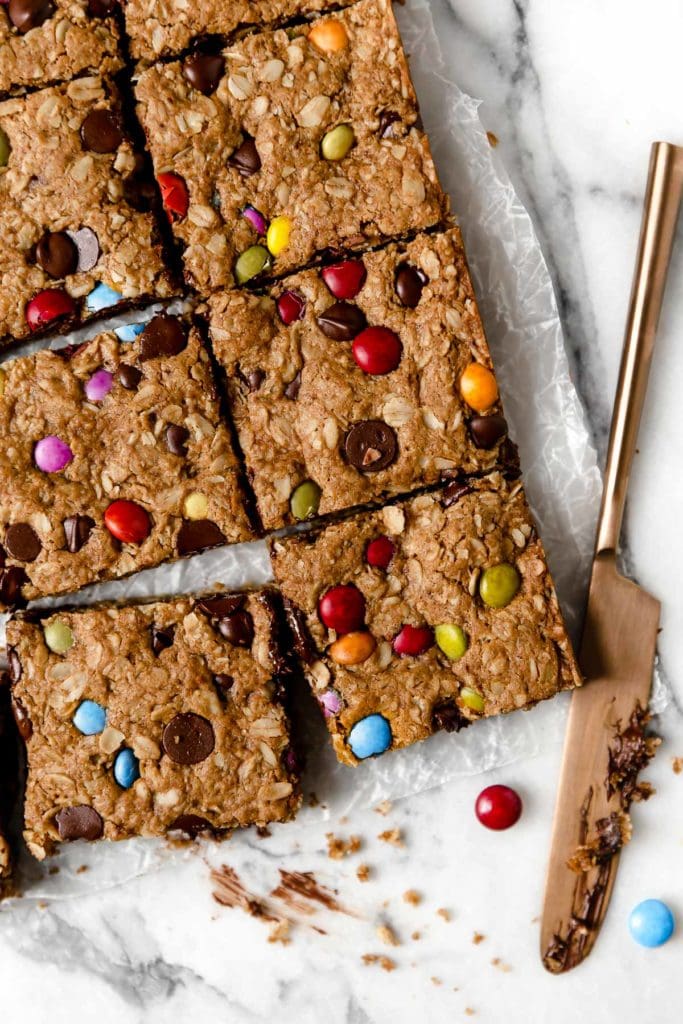
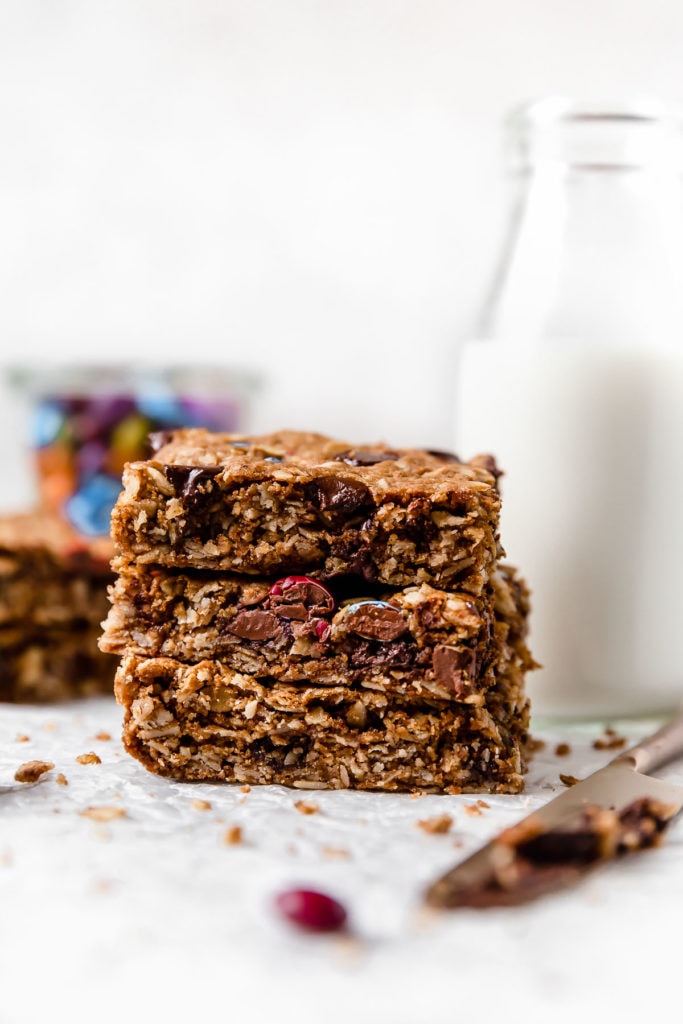
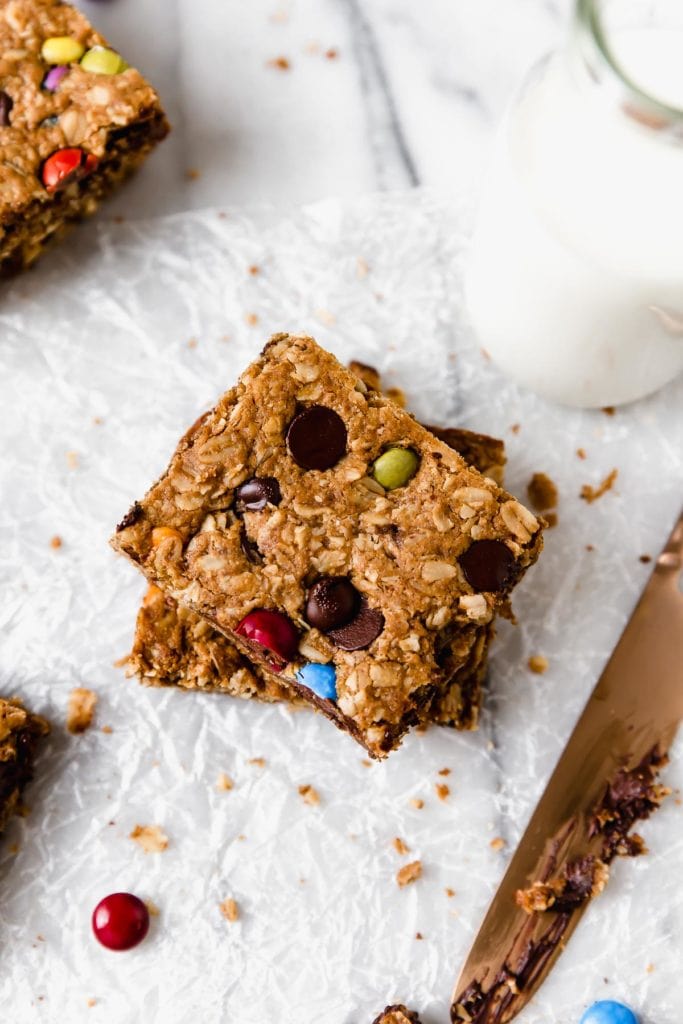
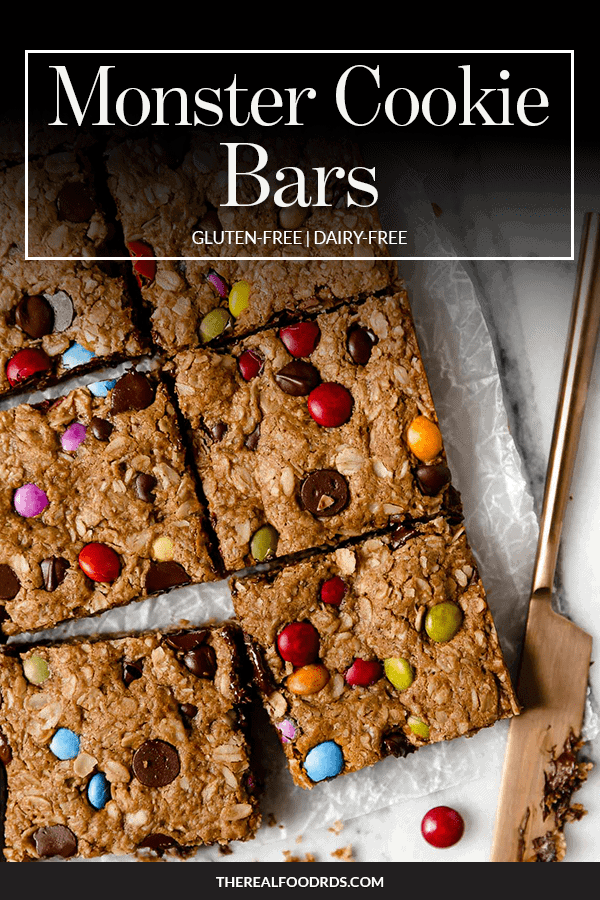
Our favorite cookie made into a bar. Soft, chewy, peanut buttery and flourless—these Monster Cookie Bars are studded with chocolate chips and candy-coated pieces. They make for a delightful treat when you’re craving something sweet and they’re perfect for sharing with a friend or family member, bringing to the cabin or on a camping trip, or sharing at a grill out or potluck. They’re gluten-free, dairy-free, and freezer-friendly.
Monster Cookie Bars are made with no flour, are gluten-free, and made all in one bowl. A recipe that everyone will love!
One of our most favorite cookie recipes on the blog is our Monster Cookies! One day as I was making them I decided to make a lazy version of these scrumptious cookies, I skipped the scooping and instead turned them into a bar. I did have to tweak and test the recipe a couple of times to make sure the recipe made enough dough to fill a 9 x 13 pan, but they’re equally delicious. Like the cookie version, these Monster Cookie Bars are made with just a few ingredients, no flour, are gluten-free, and made all in one bowl. A recipe that combines ‘can’t beat combo’ of peanut butter and chocolate that everyone will love!
Ingredients needed to make Monster Cookie Bars
- Rolled oats – also known as old-fashioned rolled oats. You may also sub quick oats if that’s what you have on hand.
- Brown sugar – I like to sub coconut sugar for a refined sugar-free option.
- Baking soda
- Salt
- Natural crunchy or creamy peanut butter – may sub any nut or seed butter of choice. For a nut-free version, use sunflower seed butter.
- Melted butter – may also sub melted coconut oil for a dairy-free option.
- Whole eggs
- Pure vanilla extract
- Candy-coated pieces – for a dye-free version use Unreal, Little Secrets, or Trader Joe’s.
- Chocolate chips – we like Enjoy Life for an allergy-friendly option.
How to make Monster Cookie Bars
Gather your ingredients plus one bowl, one pan, measuring spoons and cups, and a 9×13 pan.
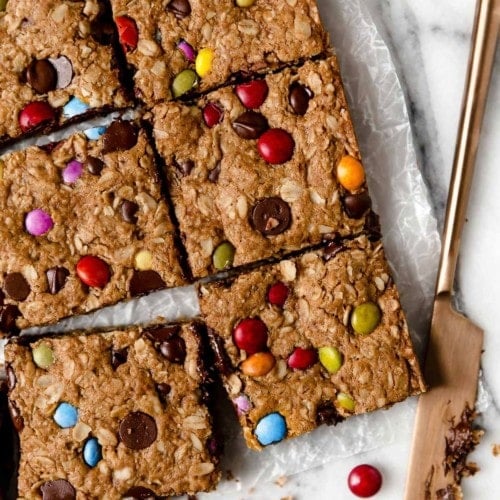
- Step 1: Preheat the oven to 350 degrees. Spray a 9×13 baking pan with non-stick spray or line with parchment paper. We like to use parchment paper so that it’s easy to remove the bars from the pan and slice into squares.
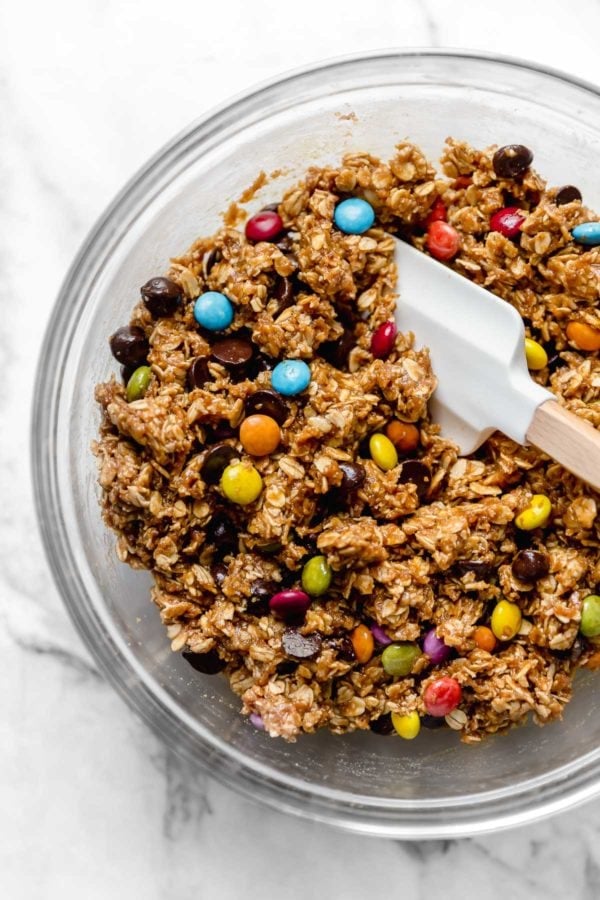
- Step 2: In a bowl, combine all of the ingredients except the chocolate chips and candy-coated pieces. Stir to combine. Then fold in the chocolate chips and candy-coated pieces.
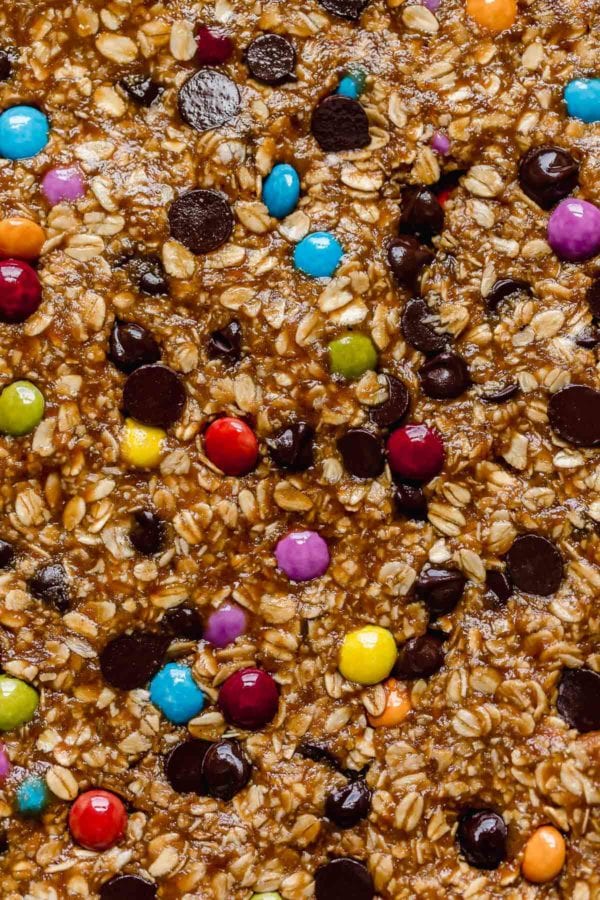
- Step 3: Transfer dough the 9×13 pan, oil hands and spread the dough out evenly in the pan.
- Step 4: Bake for about 16 minutes or until lightly golden brown and center is set.
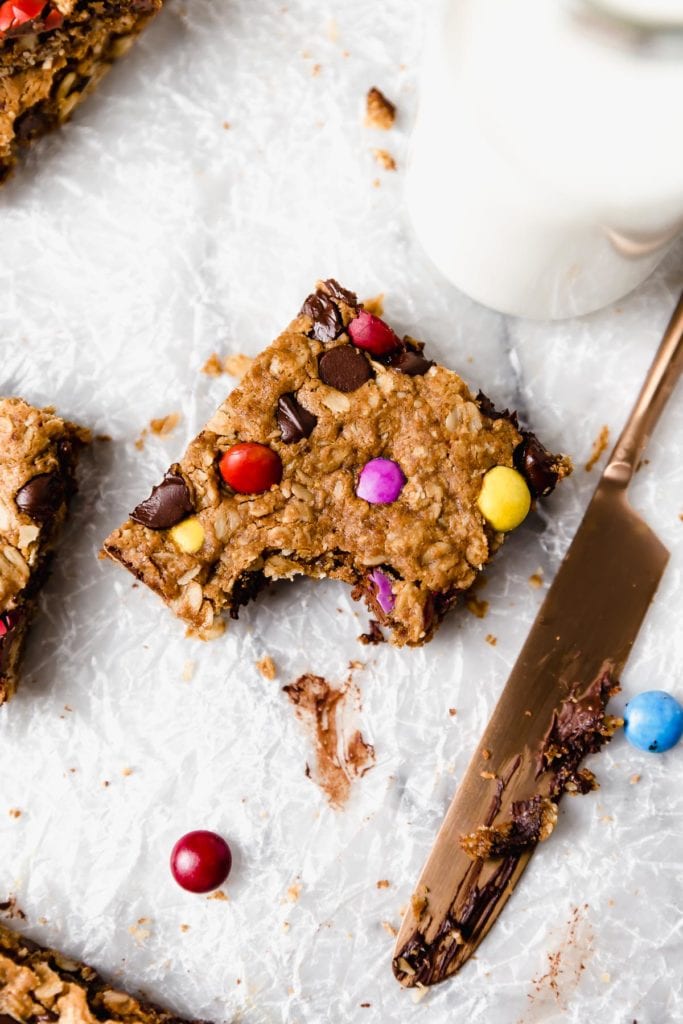
- Step 5: The hardest part—allow to cool before cutting into bars.
Enjoy!
How to store Monster Cookie Bars
Once cooled, I like to store the bars in an airtight container in the fridge for up to one week. They don’t need to be stored in the fridge, but if you have access I recommend it.
How to freezer Monster Cookie Bars
Once cooled, transfer to an airtight container and divide each layer of the bar with parchments paper to prevent them from sticking together. Store in the freezer for up to 3 months.
Other Cookie and Bar Recipes
Chocolate Peanut Butter Protein Cookies
Peanut Butter Chocolate Chip Granola Bars
Paleo Almond Butter Chocolate Chunk Cookies
Want to save this recipe?
Enter your email below & we’ll send it straight to your inbox. Plus you’ll get great new recipes from us every week!
Monster Cookie Bars
Our favorite cookie made into a bar. Soft, chewy and peanut buttery – these Monster Cookie Bars are studded with chocolate chips and candy-coated pieces. They make for a delightful treat when you’re craving something sweet!
Ingredients
- 3 cups gluten-free rolled oats
- 2/3 cup brown sugar, packed (may sub coconut sugar)
- 1 ½ tsp. baking soda
- ½ tsp. salt
- 1 1/4 cups natural creamy peanut butter, drizzly consistency (or nut or seed butter of choice)
- ¼ cup melted butter (or coconut oil for dairy-free)
- 3 whole eggs
- 1 ½ tsp. pure vanilla extract
- ⅔ cup candy-coated pieces
- ⅔ cup chocolate chips
Instructions
- Preheat the oven to 350 degrees. Spray a 9×13 baking pan or dish with non-stick spray or line with parchment paper.
- In a medium bowl combine all of the ingredients except for the candy-coated pieces and chocolate chips. If using a thicker peanut butter, heat slightly to achieve drizzly consistency. Stir to combine well. May use a standup mixer.
- Gently fold in candy-coated pieces and chocolate chips.
- Transfer dough to prepared 9×13 pan.
- Oil hands and spread dough out evenly into the pan.
- Bake in the oven for 17-20 minutes or until lightly golden brown and center is set. Baking time will vary depending on if using a baking pan or glass dish. Start checking at the 15 minute mark.
- For best results, cool completely before cutting into 20-24 bars.
- Store in an airtight container for up to one week. May also freeze for later.
Last Step! Please leave a review and rating letting us know how you liked this recipe! This helps our business thrive so we can continue providing free recipes and high-quality content for you.
Notes
Bars hold together better after they are cooled. Like any cookie or bar they are pretty ooey gooey in the middle until after they cool for a bit.
Nutrition Information
- Serving Size: 1 bar of 24
- Calories: 210
- Fat: 12 g
- (Sat Fat: 5 g)
- Sodium: 150 mg
- Carbohydrate: 22 g
- (Fiber: 3 g
- Sugar: 12 g)
- Protein: 6 g
Dietary
Pin now to make later!
This post may contain affiliate links which won’t change your price but will share some commission.
All photos and content are copyright protected. Please do not use our photos without prior written permission. If you wish to republish this recipe, please rewrite the recipe in your own unique words and link back to the source recipe here on The Real Food Dietitians. Thank you!
Photo Credit: The photos in this blog post were taken by Jess of Plays Well with Butter.
absolutely fantastic. was looking for a good sweet treat to have on hand, during my current marathon training and these hit the spot. SO easy to make. SO satisfying to enjoy. thank you!
Accidentally made without butter, and they are still so good!!!
Thank you for the feedback and 5-star review Rebecca! We appreciate it!
Hi there! This is my favorite and I make it every week. I need it to have more protein. If I wanted to add collagen or protein powder how much should I add
Hi Michelle, we love to hear that! You could add up to 1/2 cup of protein powder/collagen to this recipe with good results.
Gave them as a gift. Everyone raved over them.
What a thoughtful gift, Linda! Thank you for the feedback and 5-star rating!
I have been looking for a dessert alternative for myself. I am a touch unhappy with the calorie count, but the taste is so worth it! My wife asked me to make them again but use butterscotch chips. So, that is 100% on my to-do list now!
Fantastic! We love it! Thank you for the feedback and 5-star review!