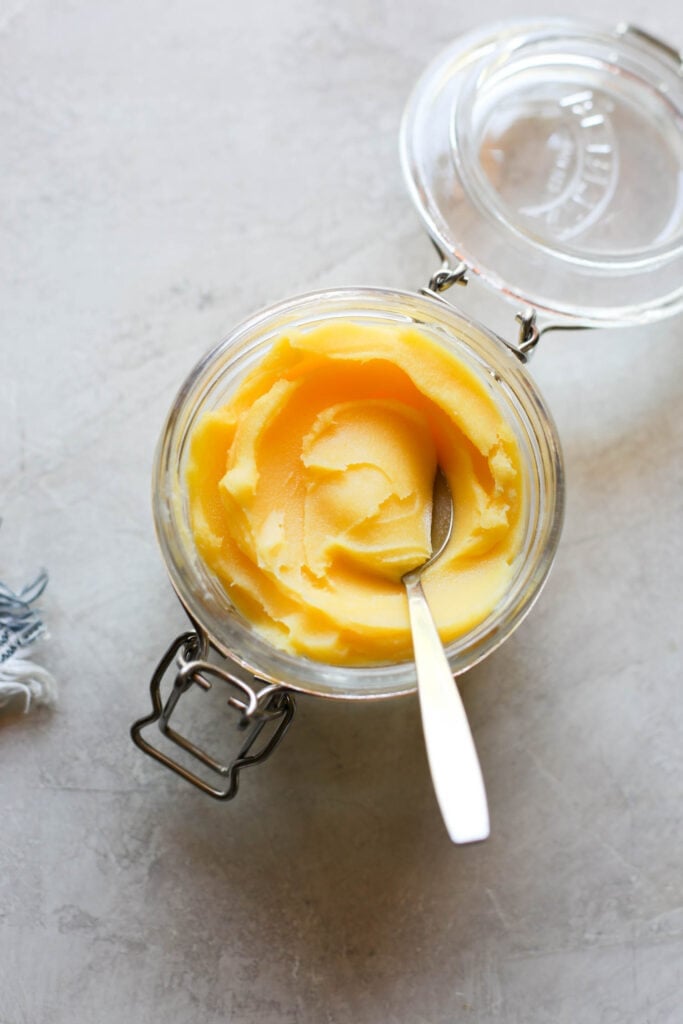
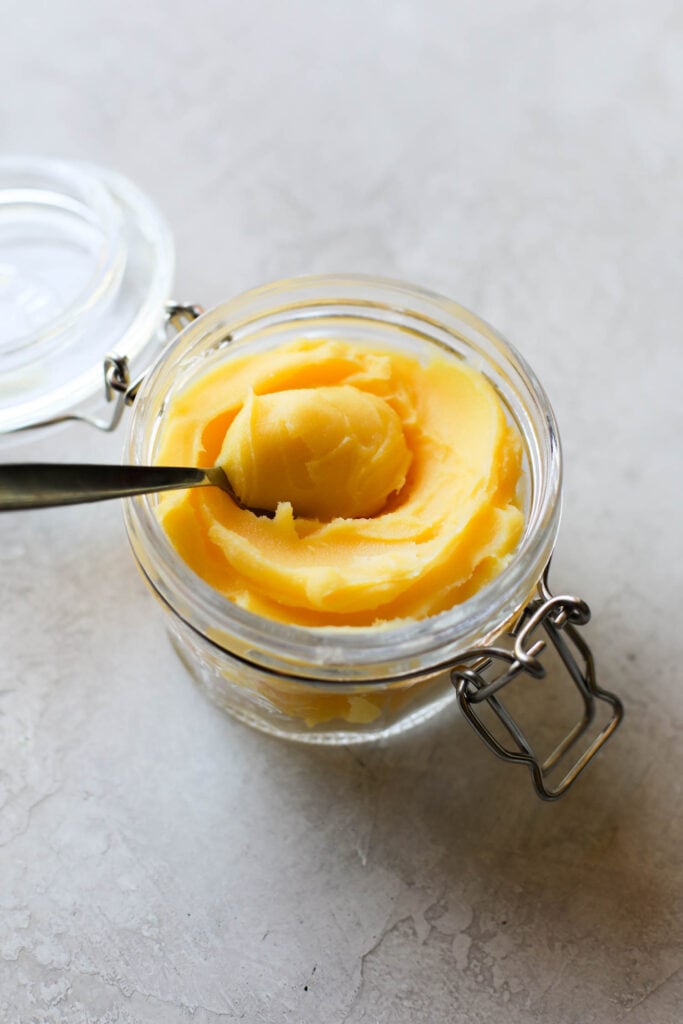
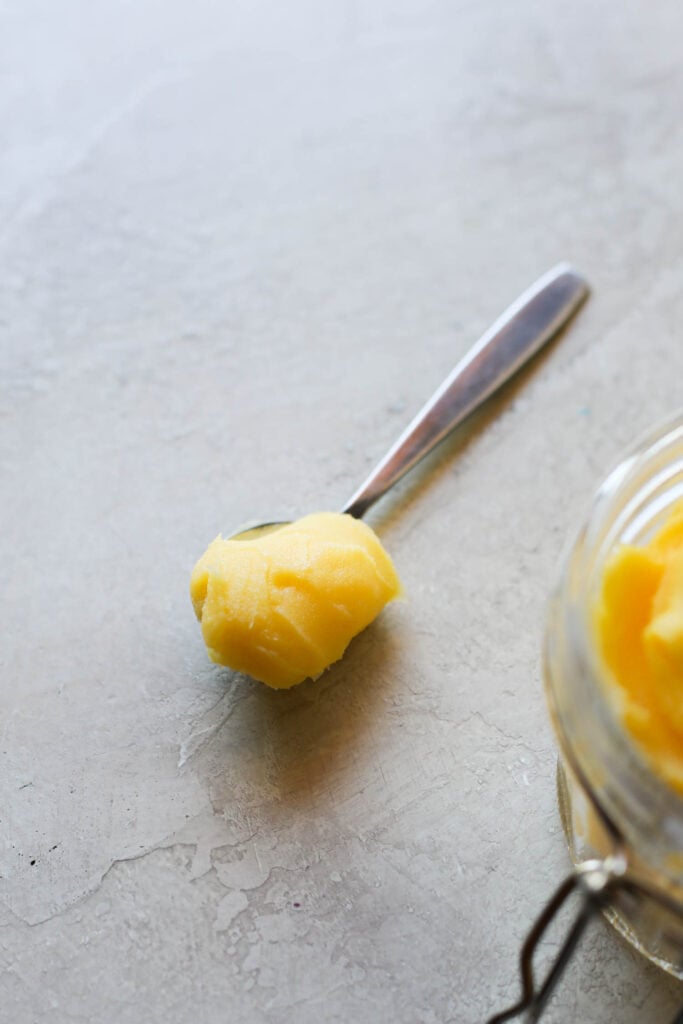
Ghee is a type of clarified butter traditionally used in Indian cooking. It’s a great everyday fat for cooking that adds a ridiculous amount of flavor and nutrition to your meals and beverages.
The rich, nutty flavor and high smoke point of ghee make it perfect for sautéeing, searing, frying, and roasting. We use it fairly often in our recipes, as many of them are designed to work with dietary preferences and eating styles like Paleo, Primal, and Whole30. It’s also great for vegetarian cooking.
Ghee Quick Facts
- Ghee is a healthy fat that can benefit the heart when used in moderation.
- Ghee is made by separating butterfat from milk solids and water in cow’s milk.
- Because the milk solids are removed when making ghee, it’s a great choice for people with dairy sensitivities or those who are lactose intolerant. Note that not all dairy proteins are removed so if you are highly sensitive or allergic to dairy then we recommend avoiding ghee.
- Ghee has a high smoke point that helps preserve nutritional value and flavor when cooking. The high smoke point makes it well-suited for roasting, sauteing, and pan frying.
- This fat source is loaded with vitamins that are believed to boost your immune system. This is why ghee is a staple in Ayurvedic medicine and Indian cooking.
What Are the Benefits of Ghee?
1. A Boost From Healthy Fats
Ghee is a fat, and after the dietary fat-phobic 1980’s we’ve finally learned to embrace the benefits of dietary fats for all-body health. Fat not only makes food taste better, but it’s also essential for the absorption of vitamin A, vitamin D, vitamin E, and vitamin K found in the foods you eat.
For years, “experts” claimed that cholesterol and fat lead to heart disease but in recent years, many health researchers have questioned whether or not this is the case. But in reality, the fatty acid profile in ghee may actually boost your immune system and cardiovascular function.
Ghee is made up of short-chain and medium-chain fatty acids. Roughly 65% of the fat in ghee is saturated fat, with 30% being monounsaturated fat. The last 5% comes from polyunsaturated fats, the primary fat found in vegetable oils. This type of fat is highly susceptible to oxidation and rancidity, which is why it’s good to consume fatty oils low in polyunsaturated fats.
Saturated fats are the most stable fats. These, along with the butyric acid, make ghee less likely to cause inflammation in the body than other oils. Butyrate is an energy source for intestinal cells and improves digestive health.
Ghee is free of industrial trans-fats and hydrogenated oils, which makes it a healthier alternative to shortening, margarine, and other ‘buttery spreads’ made with vegetable oils.
2. Higher Smoke Point
What is a “smoke point?” When any given oil hits its smoke point, it starts to shimmer and begins to smoke. Beyond that smoke point, your cooking oil starts to break down and can change the flavor of the food. It will also begin to emit aldehydes, potentially harmful aerosol compounds.
The smoke point of ghee is 485° F. This is on the very high end — only a few oils, like avocado oil, safflower, canola, and refined coconut oil have a smoke point above 400° F. For comparison, the smoke point of olive oil is between 325-400° F.
Because ghee’s smoke point is relatively high, it can be used for stir-frying and gets hot enough to get a great crisp sear on your meat and seafood without the risk of changing the flavor or releasing aldehydes.
3. Ghee Lasts Longer
Polyunsaturated fats oxidize more quickly than saturated and monounsaturated fat. This causes them to go rancid. Because ghee has a low polyunsaturated fat content, it’s very shelf-stable. It can stay good for months, even unrefrigerated.
What is the shelf life of ghee? An opened jar of ghee kept at room temperature will stay good for about 6 months. If kept in the refrigerator, you can double the shelf life of ghee to 1 year.
4. Good for Nourishing Your Body
Ghee has many uses in Ayurveda, where it’s considered the healthiest edible fat. The nutrient density of ghee is thought to protect body tissues, enhance gut health, assist in detoxification, and improve brain health and concentration.
In Ayurvedic medicine, ghee is often mixed with medicinal herbs to treat specific conditions. However, this is not the typical ghee you’d buy from the grocery store. Sometimes, it’s even used as a topical solution for treating wounds and burns or for a massage oil base.
Even if you’re not into Ayurveda or recreating your favorite Indian dishes at home, you can still enjoy the benefits and rich flavor that ghee has to offer. If you’re curious about trying ghee, this is one of our favorite brands.
Ghee vs. Butter
Both ghee and butter are dairy products made from cow’s milk. They differ in the way they are produced and their nutritional profile. Ghee, but not butter, may be suitable for people with lactose intolerance, as the milk proteins and lactose (a type of naturally occurring sugar) in butter are removed when ghee is made.
What is the difference between ghee and butter? Butter is made from the fat and protein of milk. Ghee, also called clarified butter or anhydrous milk fat, is butter that has water and milk solids removed and a higher concentration of fat.
Milk solids consist of the non-fat portion of dairy. This includes the milk proteins like casein and whey and carbohydrates like lactose. There are still very low levels of casein and lactose in ghee, but many lactose-intolerant people find they’re easier to digest than traditional butter.
Removing the milk solids is also what gives ghee its high smoke point and allows it to be stored at room temperature without spoiling. Ghee’s smoke’s point is 485° F compared to butter at 302°F.
Why We Prefer Ghee From Grass-Fed Dairy
Ghee made from the milk of grass-fed cows is significantly higher in conjugated linoleic acid (CLA) than that made from milk obtained from grain-fed cows. Lab studies in animals have shown that CLA improved glucose and lipid metabolism, but there have been no long-term human studies yet.
CLA also offers other important health benefits. It may reduce the risk of heart disease, Type 2 diabetes, and cancer in individuals who regularly consume grass-fed meat and dairy as part of an overall healthy diet.
That’s just one of the many reasons we recommend grass-fed dairy.
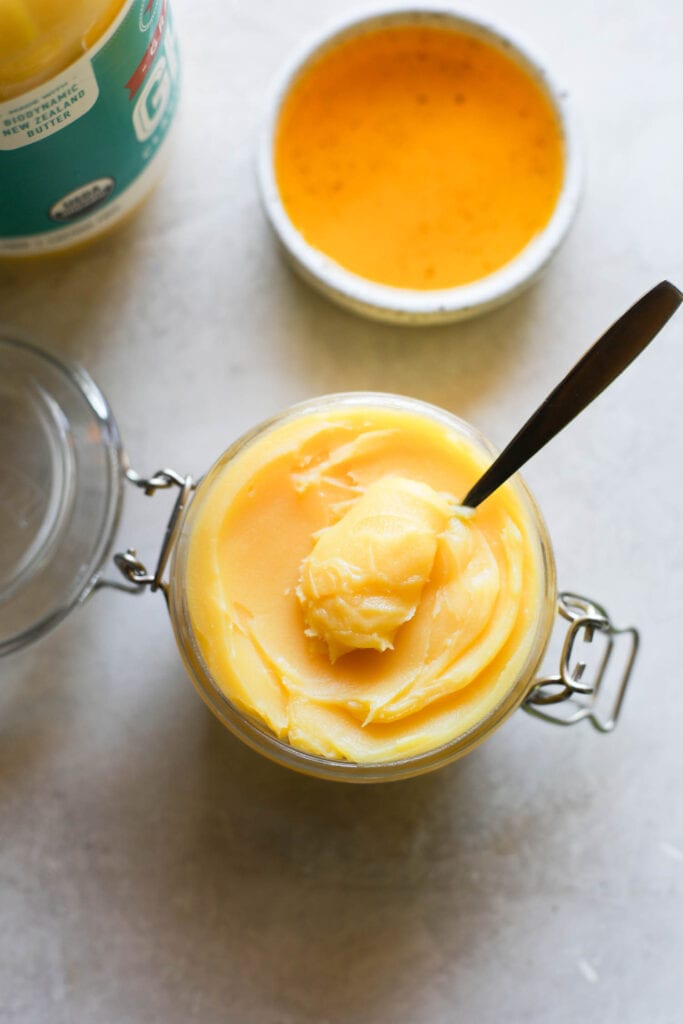
Making Ghee at Home
If your local grocery store doesn’t carry ghee and you aren’t near a south Asian grocer, you can always try making ghee at home.
What is ghee made of? Ghee is traditionally made from cow milk butter.
To make homemade ghee:
- Melt unsalted butter over low heat until the milk solids settle out to the bottom of the pan.
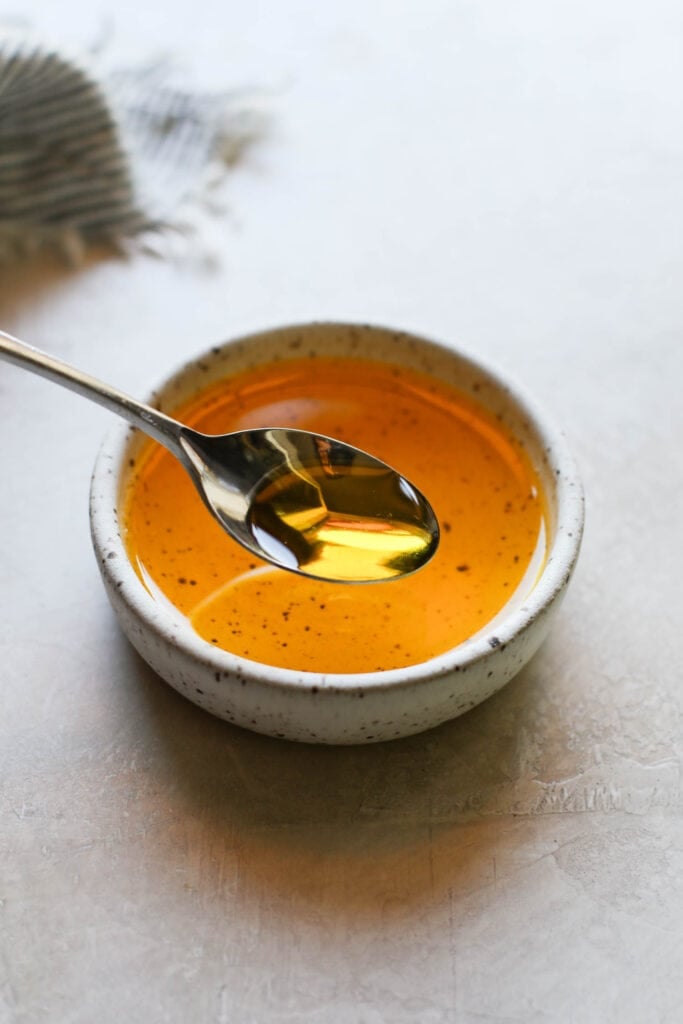
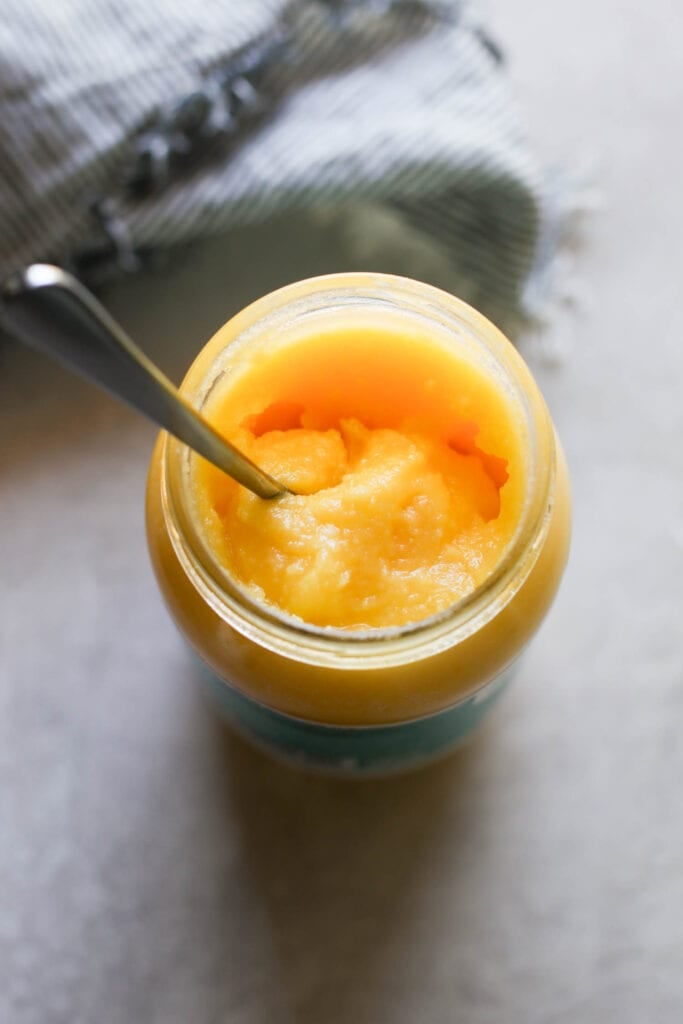
- Carefully strain the melted butter through a fine mesh strainer or cheesecloth to separate the rich, golden fat from the solids.
- When it’s filtered, keep the oil that remains. It will solidify at room temperature, just like butter. Store your ghee in a glass jar with an airtight seal like this one or repurpose a simple glass jar with tight-fitting lid for best results.
You will lose about 20-25% of the weight of the butter when you make ghee because you remove some liquid and solids. If you start with a pound of butter, you will end up with about a cup and a half of ghee.
Cooking times for ghee vary depending on the quality and temperature of the butter you are using. When making homemade ghee, keep an eye on your butter and watch for the milk solids to settle and be caramelized at the bottom of your pan.

How to Use Ghee
To use ghee in your kitchen, you can:
- Fry, roast, or sauté meats, fish, vegetables, and eggs in it
- Spread it on toast or bread
- Drizzle ghee oil over veggies as a finishing touch
- Add it to popcorn for enhanced flavor
- Incorporate it into baked goods as a replacement for butter or oil
- Put a tablespoon of ghee in your morning cup of coffee (Bulletproof or “butter coffee” usually calls for ghee and MCT oil)
Though ghee is a cornerstone in traditional Indian and Pakistani cuisines, its utility extends beyond these culinary traditions. It can effectively replace butter or oil in most recipes, and its high smoke point makes ghee oil a fantastic replacement for canola or similar oils.
Our Favorite Brands Of Ghee
We’ve taste tested a lot of kinds of ghee over the years. Here are some of our favorite brands that are commonly found on grocery store shelves or available online.
- 4th & Heart — Made from grass-fed milk and available in variety of flavors including Original, Himalayan Pink Salt, Garlic, Vanilla Bean, and Turmeric
- Organic Valley — Made from grass-fed milk from a cooperative of small family farms
- Tin Star Foods — Made from grass-fed and biodynamic milk. Also available in Brown Butter flavor that’s great for baking.
- Pure Indian Foods — Though only available online, this is some of the best tasting and most authentic ghees we have tried. Also available in flavors like Cultured, Herbs de Provence, Italian, Garlic, Digestive, and Dessert ghee.

Frequently Asked Questions
Ghee is a great fat that is rich in vitamins, antioxidants, nutrients, and healthy fatty acids. Like all fats, it should be used in moderation.
No, ghee is made from dairy milk. While the lactose and casein have been removed, it’s still not suitable for a vegan diet.
Plain ghee contains only unsalted sweet cream butter. Cultured ghee is made from fermented sweet cream and has a tangier taste. Some brands also offer ghee blends with other ingredients to diversify the flavor profile. We love adding a little of this vanilla bean ghee to baked sweet potatoes with a sprinkle of cinnamon.
Ghee has a roasted, slightly nutty flavor. It tastes like a cleaner, richer version of butter.
Ghee is better for high-heat cooking and adding richer flavors to dishes than olive oil, but olive oil is great for marinades and dressings. Both ghee and olive oil have health benefits and can fill specific cooking requirements.
No, because of the heat necessary to produce ghee, it’s not a probiotic food.
Ghee comes from the Sanskrit word ghrta, which means “to sprinkle.”


I have a jar of ghee in the fridge I’ve had for sometime and I’m wondering if it can get old or the taste be “off”.
Hi Wendy,
As long as the ghee has been in the fridge it should be fine for up to a year. However, if you suspect it’s rancid then I’d toss it and get a new jar.